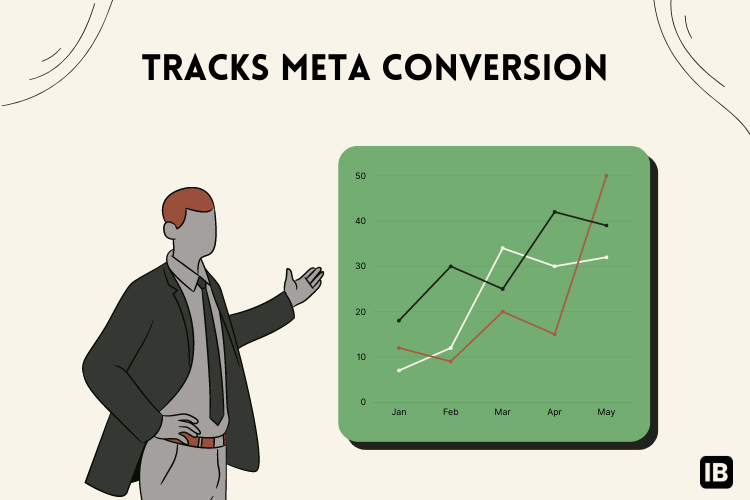
Meta Pixel (formerly Facebook Pixel) is one of the most important tools for anyone running Facebook or Instagram ads. It helps you track user behavior, optimize ad campaigns, and increase ROI.
In this guide, you’ll learn:
- What Meta Pixel is and why you should install it
- Step-by-step Meta Pixel installation guide
- How to test and troubleshoot Pixel
- Answers to common Meta Pixel setup questions
What is Meta Pixel (Facebook Pixel)?
Meta Pixel is a small piece of JavaScript code that you add to your website. It allows you to:
- Track user actions like purchases, form submissions, or page views
- Retarget visitors who didn’t convert the first time
- Optimize your ad campaigns by providing accurate data to Meta Ads Manager
Essentially, it helps you make smarter, data-driven decisions with your ad spend.
Meta Pixel has 17 standard events tool codes which are:
- Content search
- Product customization
- Donation button
- Contact us field
- Registration form
- Shopping cart
- Wishlist
- A field for payment info
- Purchase option
- Lead
- Check out page
- Content viewing
- Accurate location on the map
- Appointment schedule
- Free trial
- Application Submission
- Subscribe form or option
While these are the standard coding on Facebook Pixel, you can also add extra details or edits which are known as Parameters. This features more flexibility and personalization of your website.
You might be asking yourself at this point why the need to set up Meta Pixel on your website. Here’s why.
Why is Meta Pixel Installation Important?
1. Accurate Conversion Tracking
Know exactly how many users complete actions after seeing your ad.
2. Effective Retargeting

Reach people who visited your site but didn’t take action.
3. Better Campaign Optimization

Meta uses Pixel data to deliver ads to people most likely to convert.
How to Install Meta Pixel (Step-by-Step Setup)
Step 1: Create a Meta Pixel
Go to Event Manager on Facebook, click  connect a New Data Source in the left sidebar, then choose any of the three preferences. You can either connect your website, application, or offline activity. For this setup, we are working with the Web option.
Step 2: Put in the Code of Facebook Pixel to your Site
There are two ways to add Meta Pixel on your website and these include installing the code manually or making use of a partner. Partners are recognized web hosting sites like Wix, Squarespace, WordPress, etc, or a web developer who can edit code.
You can decide on mailing the instructions to your web developer if you are not confident in installing the code by yourself using the Email Instruction option. Here, we will teach you how to install the code manually.
- Select the Install Code Manually Option
- Push the green button indicating

- This step is a little delicate. The code needs to be pasted into the Header of your page or inside the tag of all the web pages. When that is done correctly, select Continue.
- The next option is Automatic Advanced Matching. You can select all the options on display or opt out of some data collection you find unnecessary. But you should know that the more selection the better the conversion rate. You can select Continue when you are satisfied with your options.
Step 3: Standard Event Setup Tool
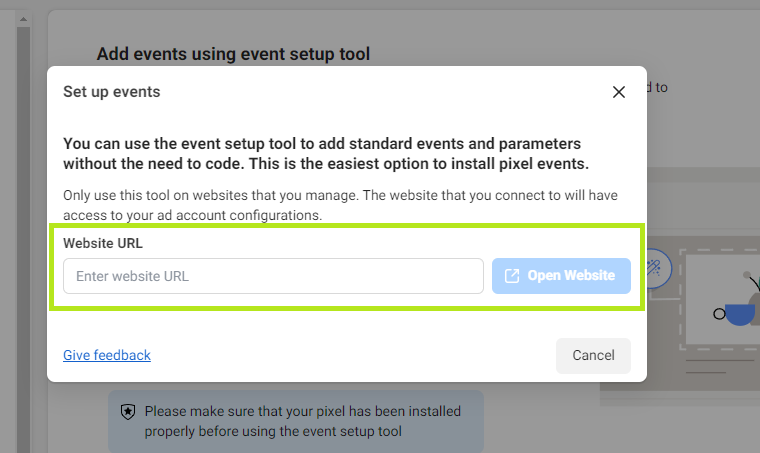
- Click the
 then type the link to your website(URL) and select Open Website
 - A prompt of the Pixel Events will be displayed. Review each one to either Dismiss or Confirm your choice. Select Finish Setup to proceed.
How to Test Your Meta Pixel
- Make sure you have Chrome Browser or install one. Navigate to Extension from your browser homepage and search Meta Pixel Helper to add.
- Visit the website URL where the pixel code was installed. Facebook Pixel Helper will display all the pixels on the page and also indicate which pixel is not loading and gives correctional information.
Privacy Compliance
Agreeing to the Facebook Business Tools Term earlier in the setup obliged you to inform your website visitors about their data collection and its usage.
Also, you need to give them the option to reject all the cookies or reject some or accept all if they are okay with the privacy protection method of your website.
Facebook Pixel also encourages users to be allowed to opt out of any services or subscriptions at any given moment, otherwise, their privacy has been violated and actions can be taken against your website if reported.
Troubleshooting Common Meta Pixel Issues
- Pixel not firing? Re-check
<head>placement of code. - Duplicate events? Avoid using both manual and plugin installations.
- Wrong data? Enable Advanced Matching for better accuracy.
Conclusion
Setting up Meta Pixel is crucial for any business advertising on Facebook and Instagram. With this guide, you can install Meta Pixel, set up events, and ensure accurate tracking—all without needing a developer.
FAQs About Meta Pixel Installation
1. Do I need coding skills to install Meta Pixel?
No. Platforms like WordPress and Shopify have built-in integrations.
2. How do I verify if Meta Pixel is tracking conversions?
Use Meta Pixel Helper and check Events Manager data.
3. Can I use one Pixel for multiple websites?
Yes, but separate Pixels per site are recommended for cleaner data.
4. Is Meta Pixel free to use?
Yes, Meta Pixel is free. However, you need an active Facebook Ads account to utilize its features fully.
5. What is Meta Pixel used for?
Meta Pixel helps you track user activity on your website and optimize Facebook and Instagram ad campaigns.